Want to take advantage of features in VideoAsk and Typeform? Keep reading to learn how to redirect your respondents from one to the other!
This guide creates a sequence starting with a typeform, then redirects to a videoask, and finishes with a second typeform.
This flow is useful if you want to take advantage of different features available on each platform: for example, using the calculator feature to score respondents' answers in a typeform, then redirecting your qualified leads to a videoask for an interactive video message element, before finishing up in another typeform for any final data collection.
If you're interested in connecting a single typeform and videoask, learn how to connect a typeform to a videoask.
Note: This guide uses functionalities available on paid accounts for both VideoAsk and Typeform.
Jump to:
Part 4: Generate your videoask link
Part 5: Add a redirect to typeform A
Part 1: Create typeform A
New to Typeform? Learn how to create your first typeform.
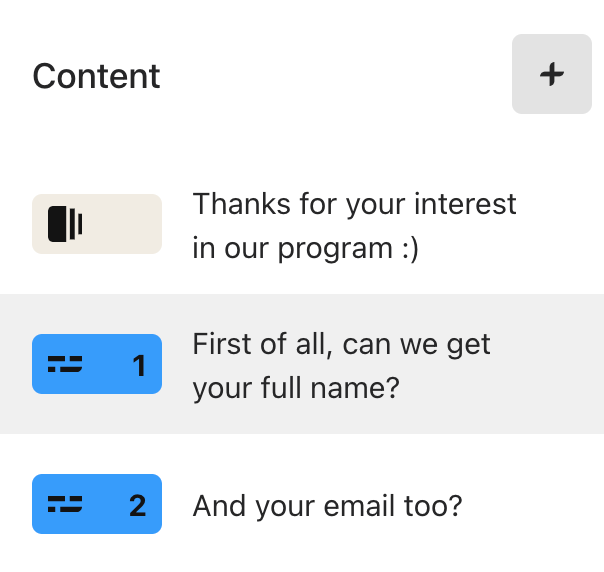
You can configure your typeform however you like, but we recommend including the following so you can pass contact details through to your videoask automatically using variables:
- Include a question asking for the respondent's name and make it required
- Include a question asking for the respondent's email and make it required
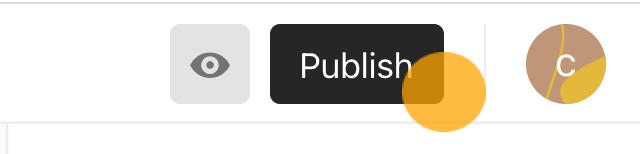
When you're happy with your typeform's setup, click Publish in the top right of the create panel.
We're going to come back to this typeform shortly, but first, we'll create typeform B.
Part 2: Create typeform B
You can also configure your second typeform however you like, but you'll need to add Hidden Fields to pass through the contact details collected in your videoask.
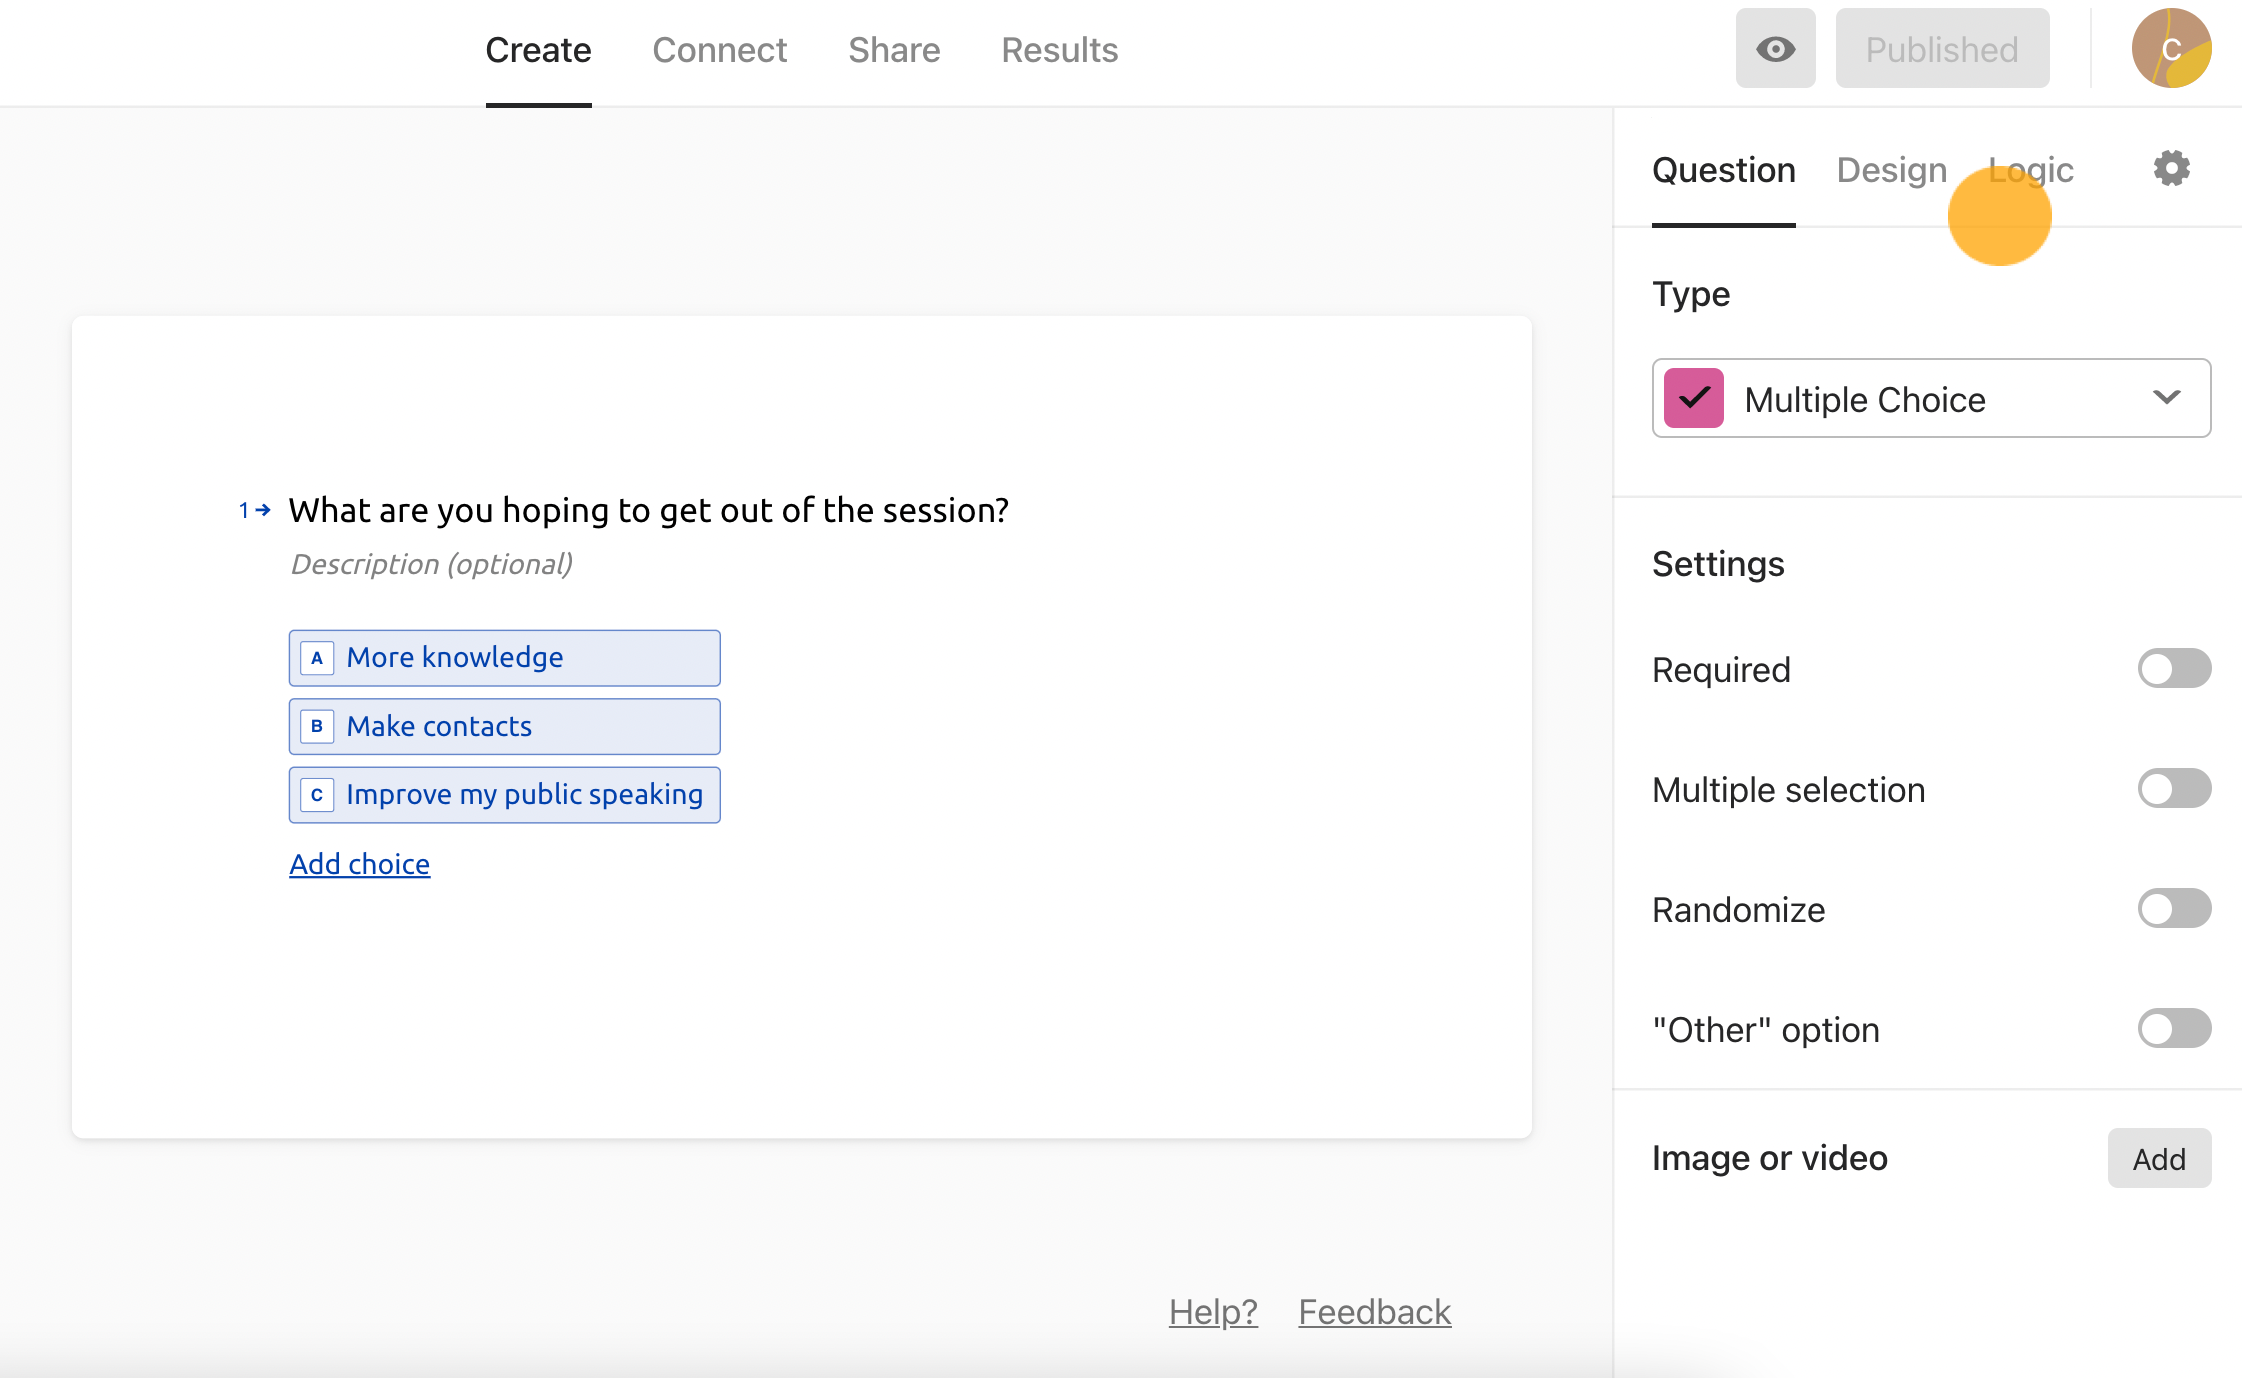
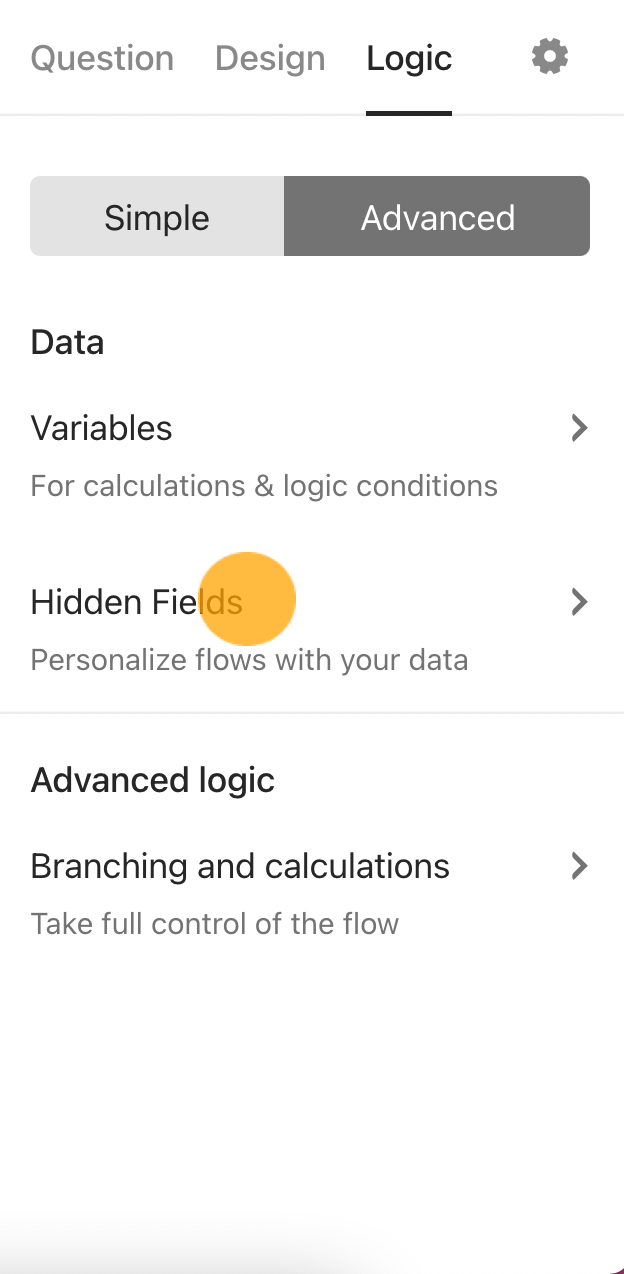
When you've created your typeform, click the Logic tab on the right-hand side of the Create panel.
Click Advanced.
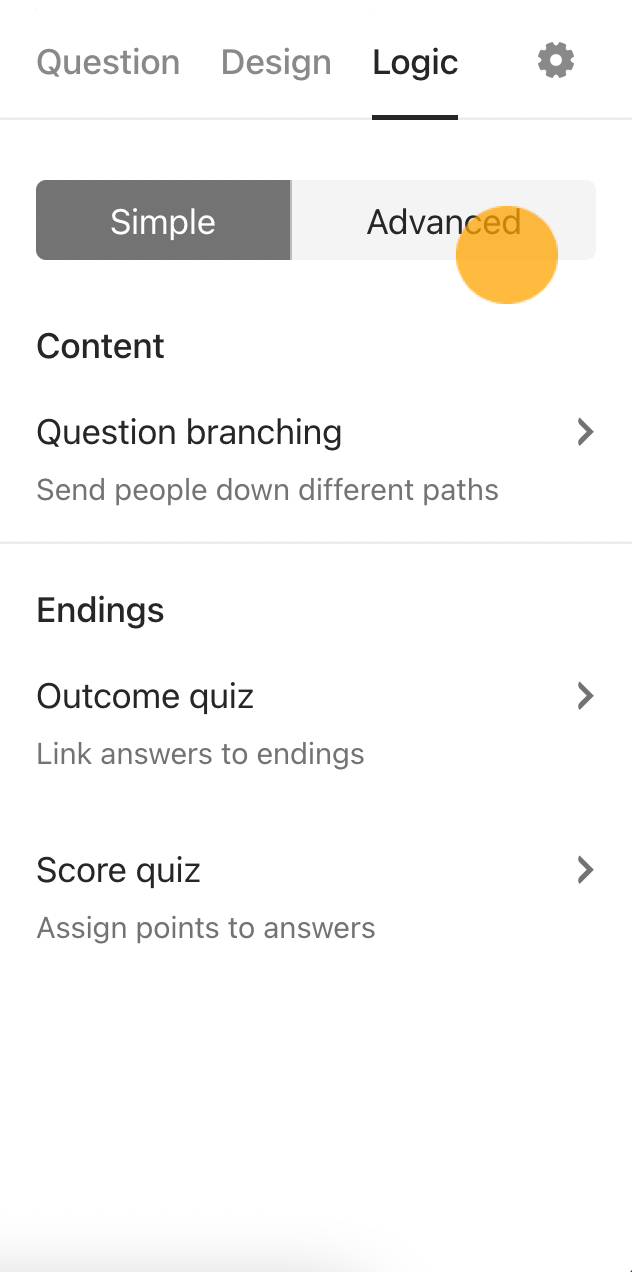
Select Hidden Fields.
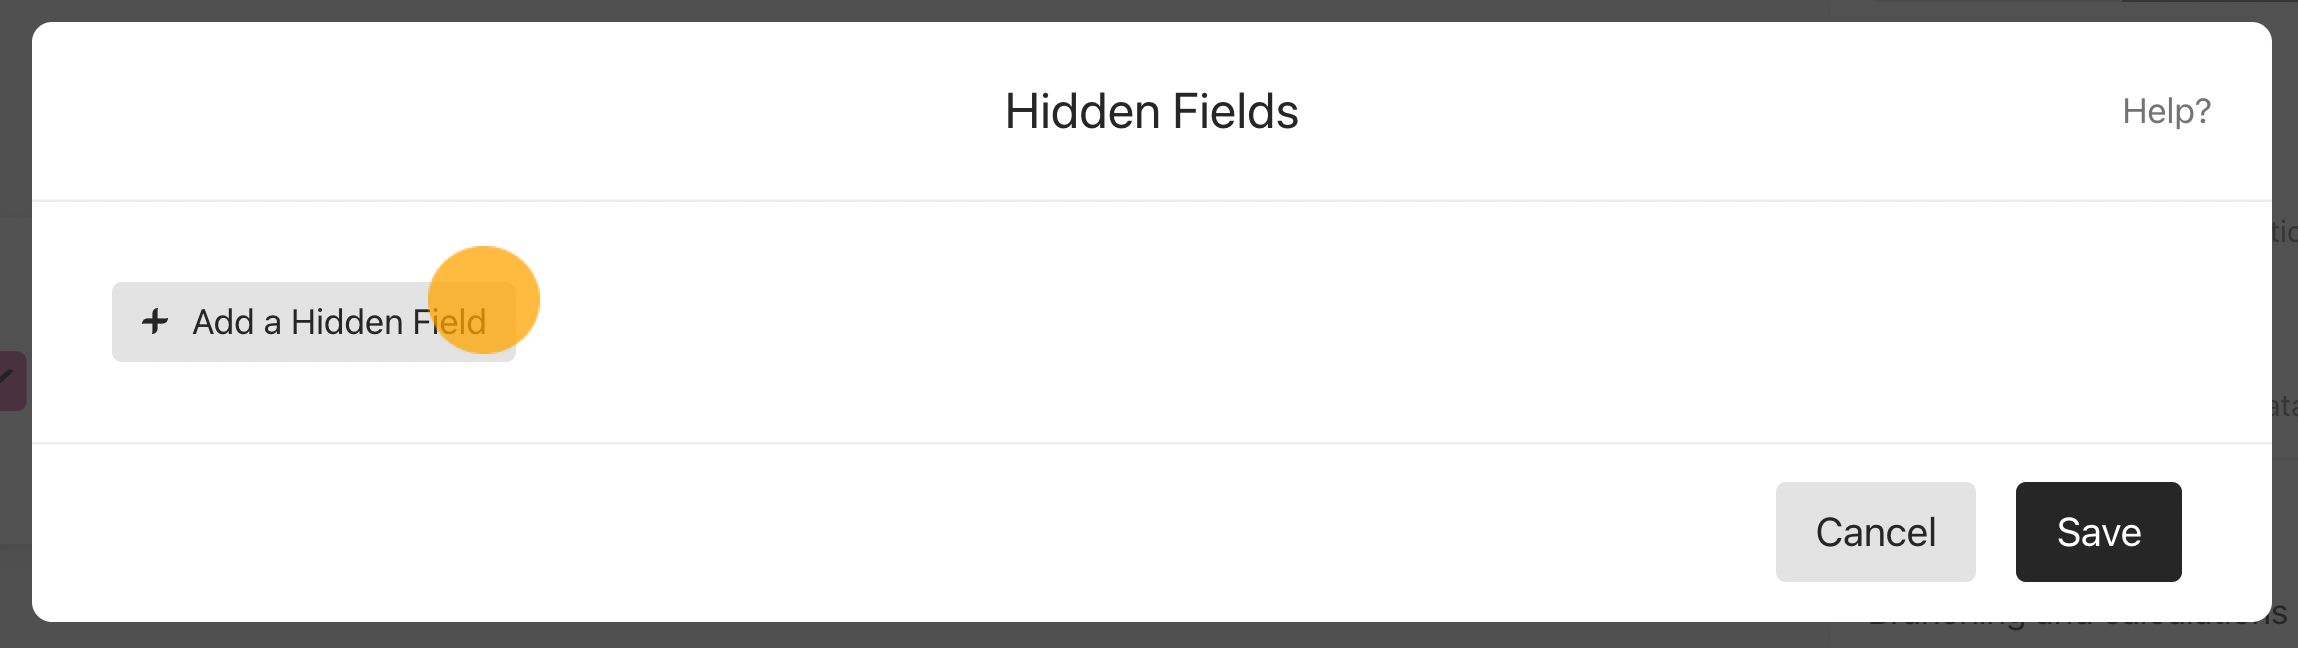
Click + Add a Hidden Field.
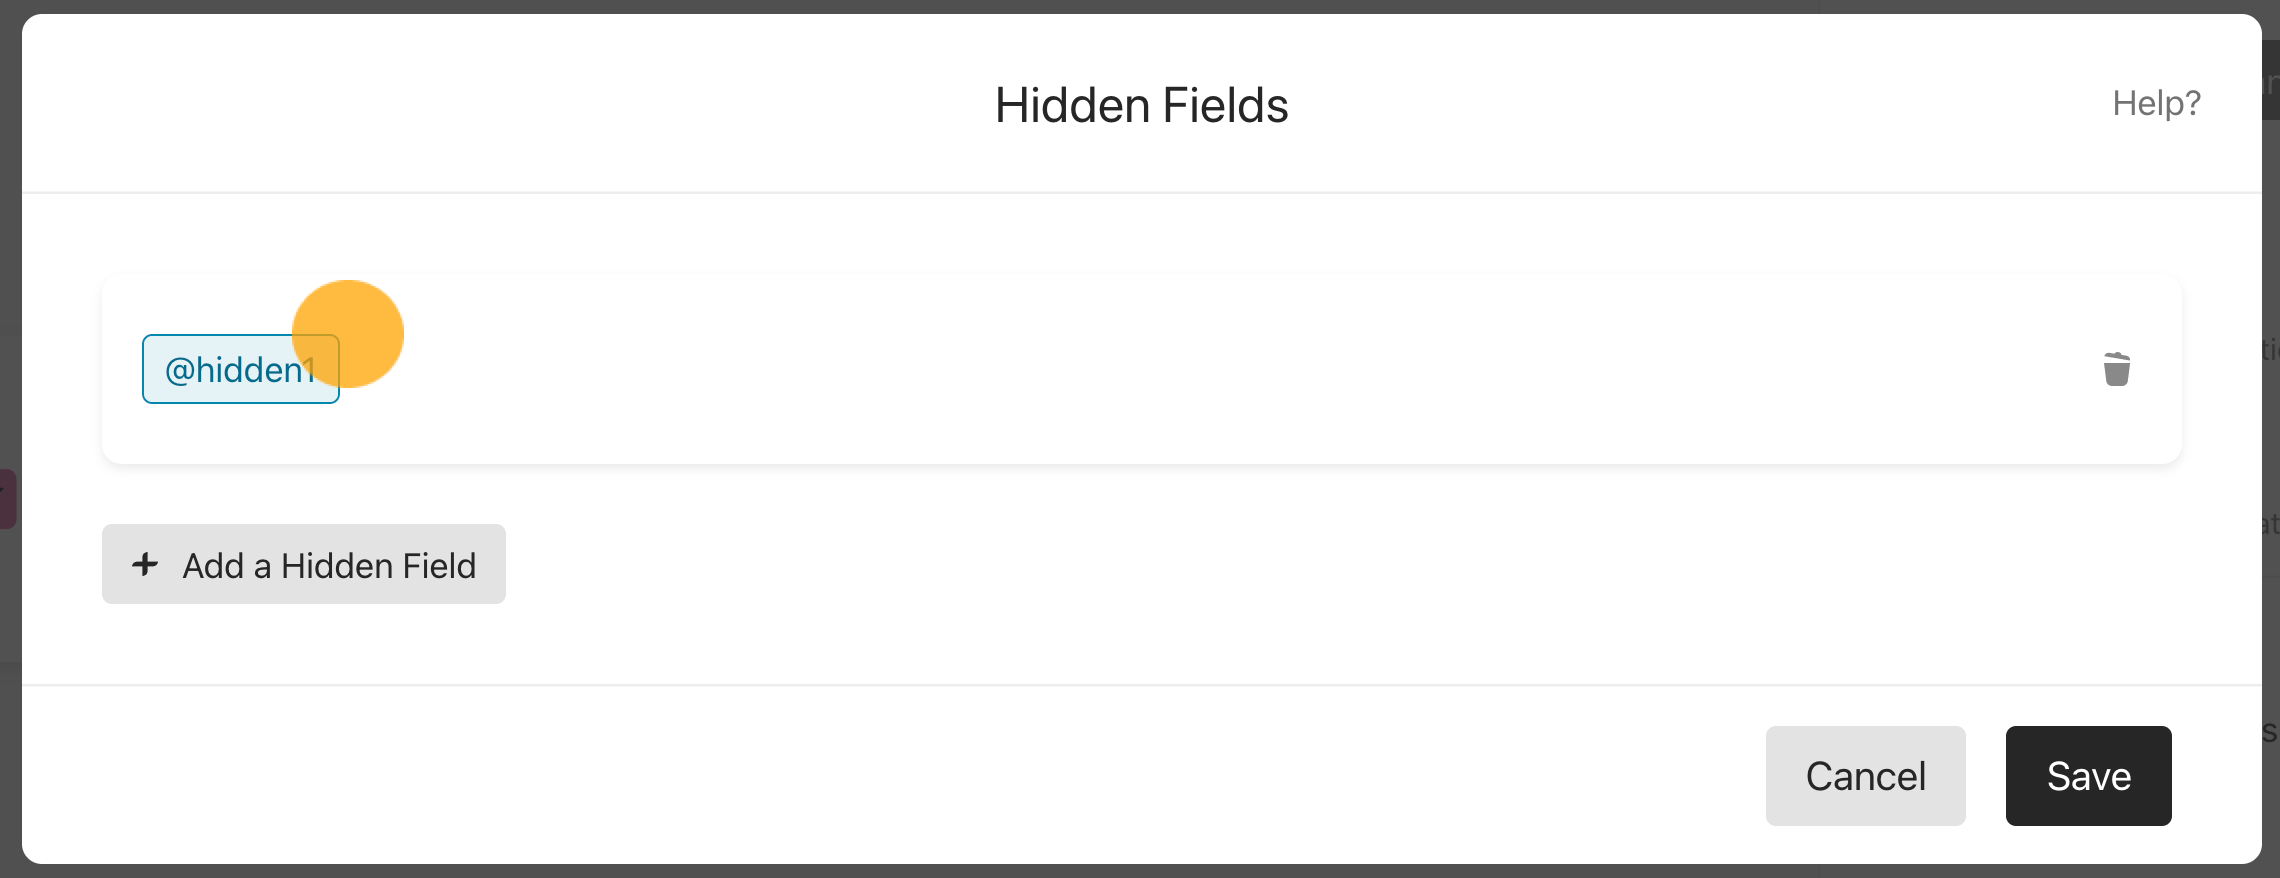
Click on @hidden1.
Edit the wording as works best for you. In our case, we'll add @contact_name.
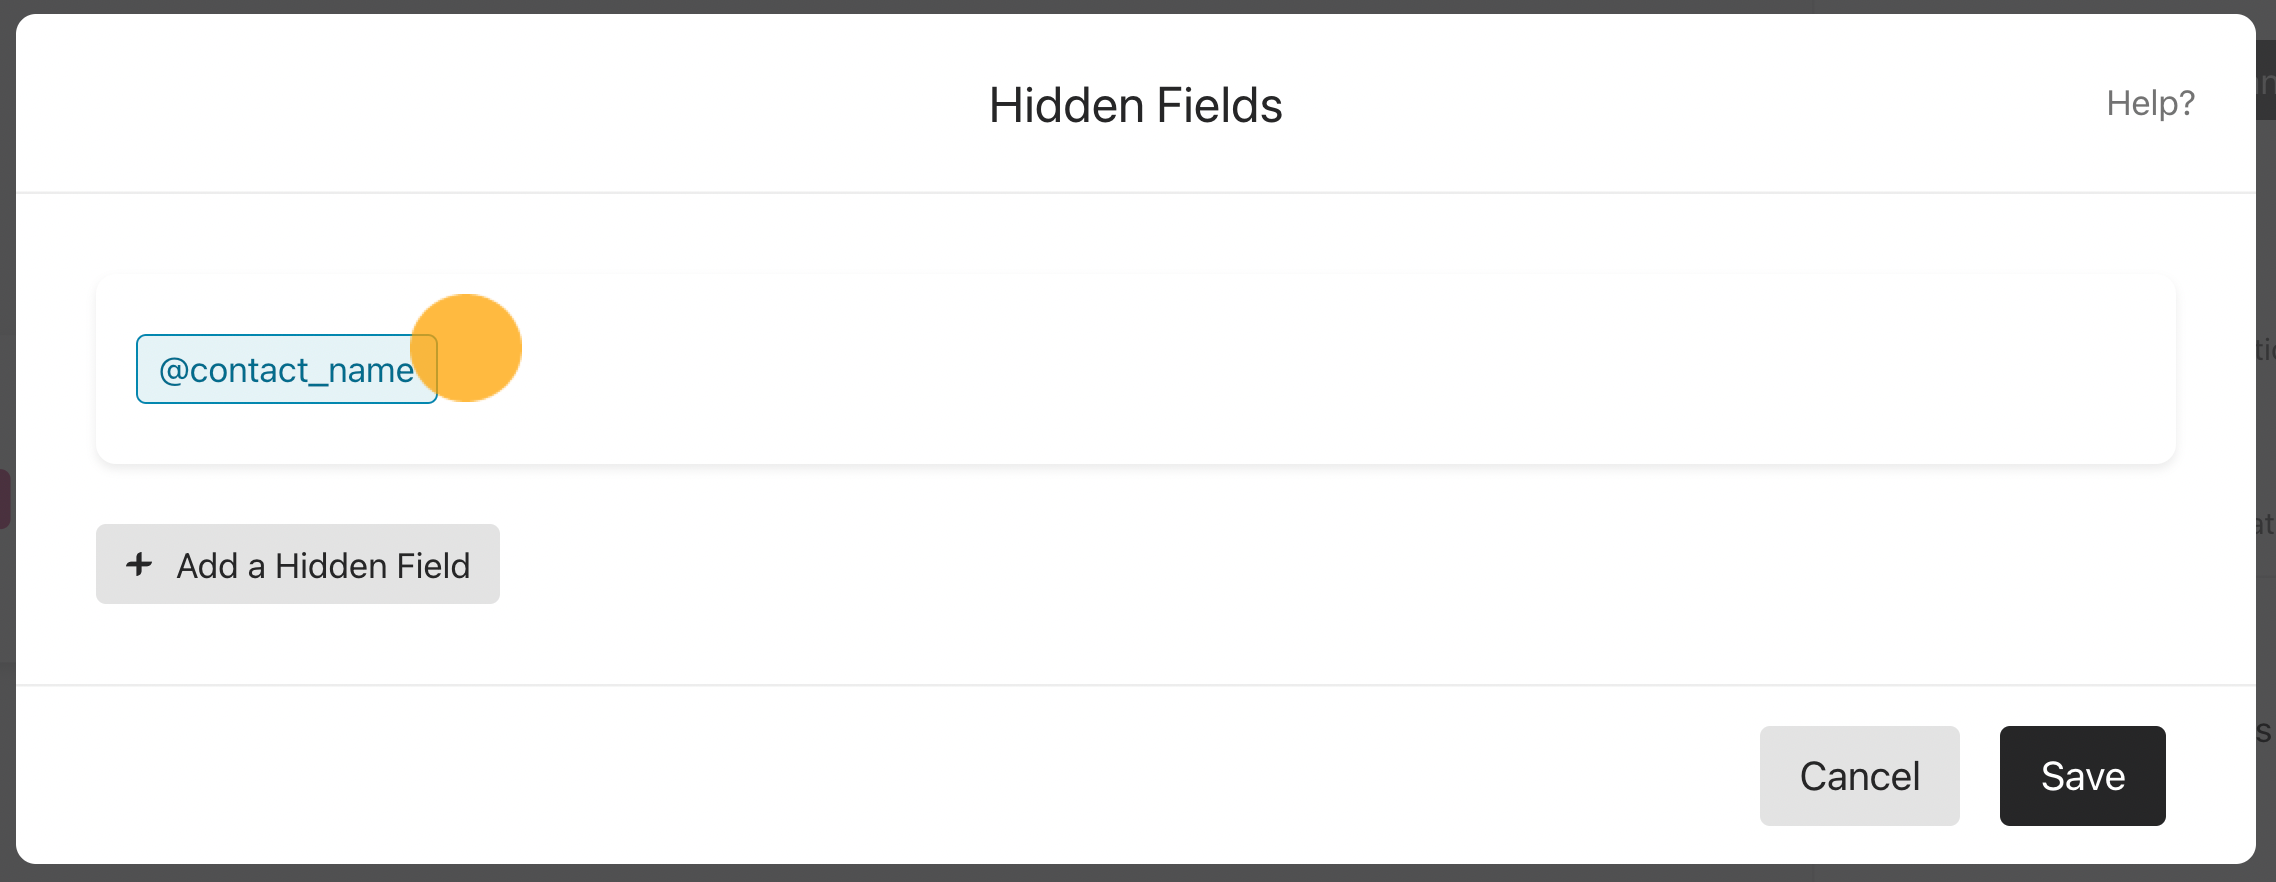
And we'll add a second hidden field by clicking + Add a Hidden Field and adding @contact_email.
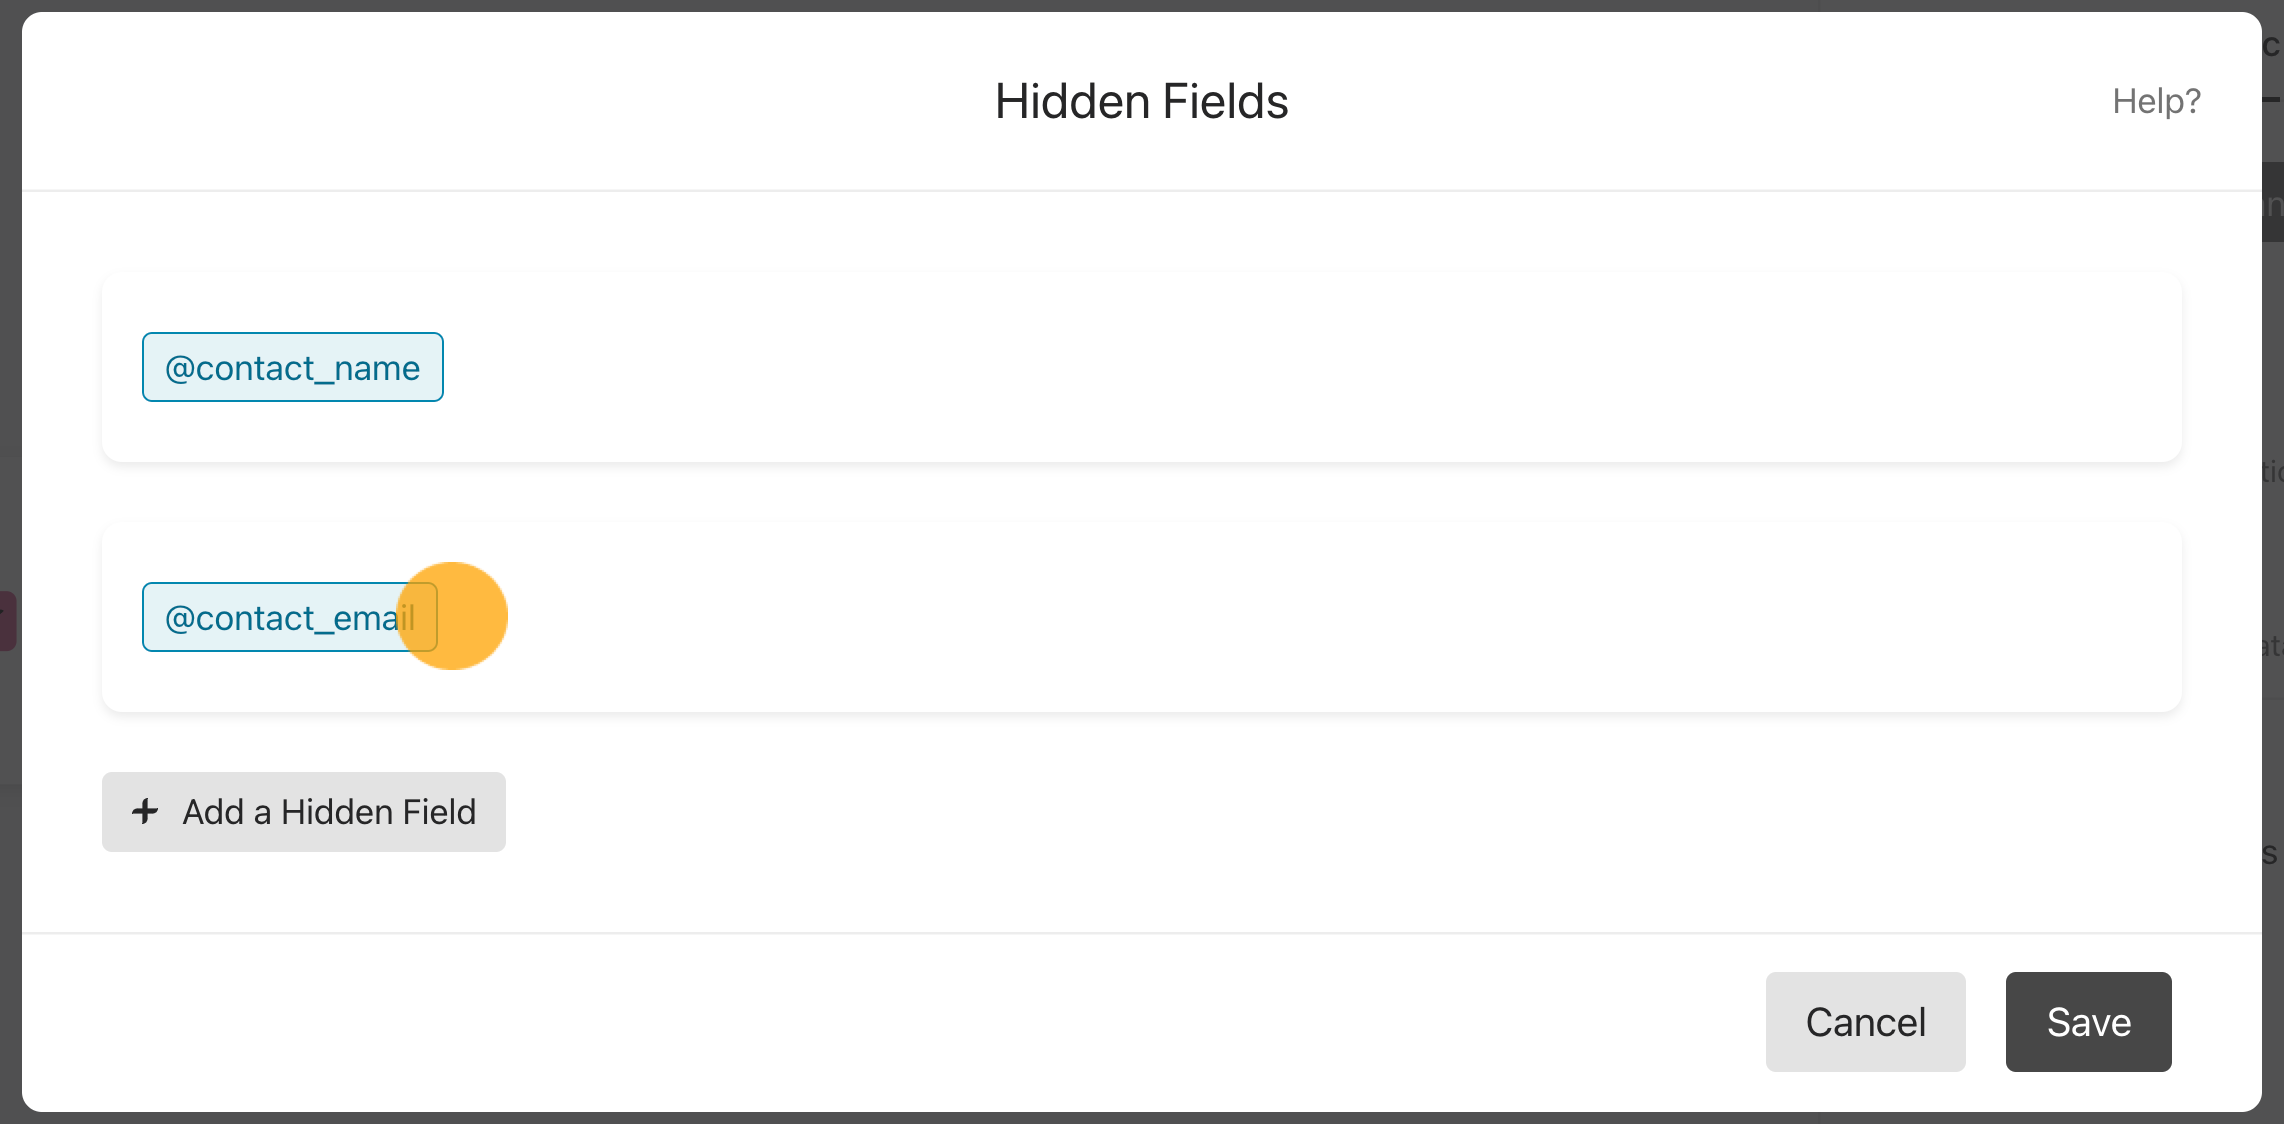
Then click Save.
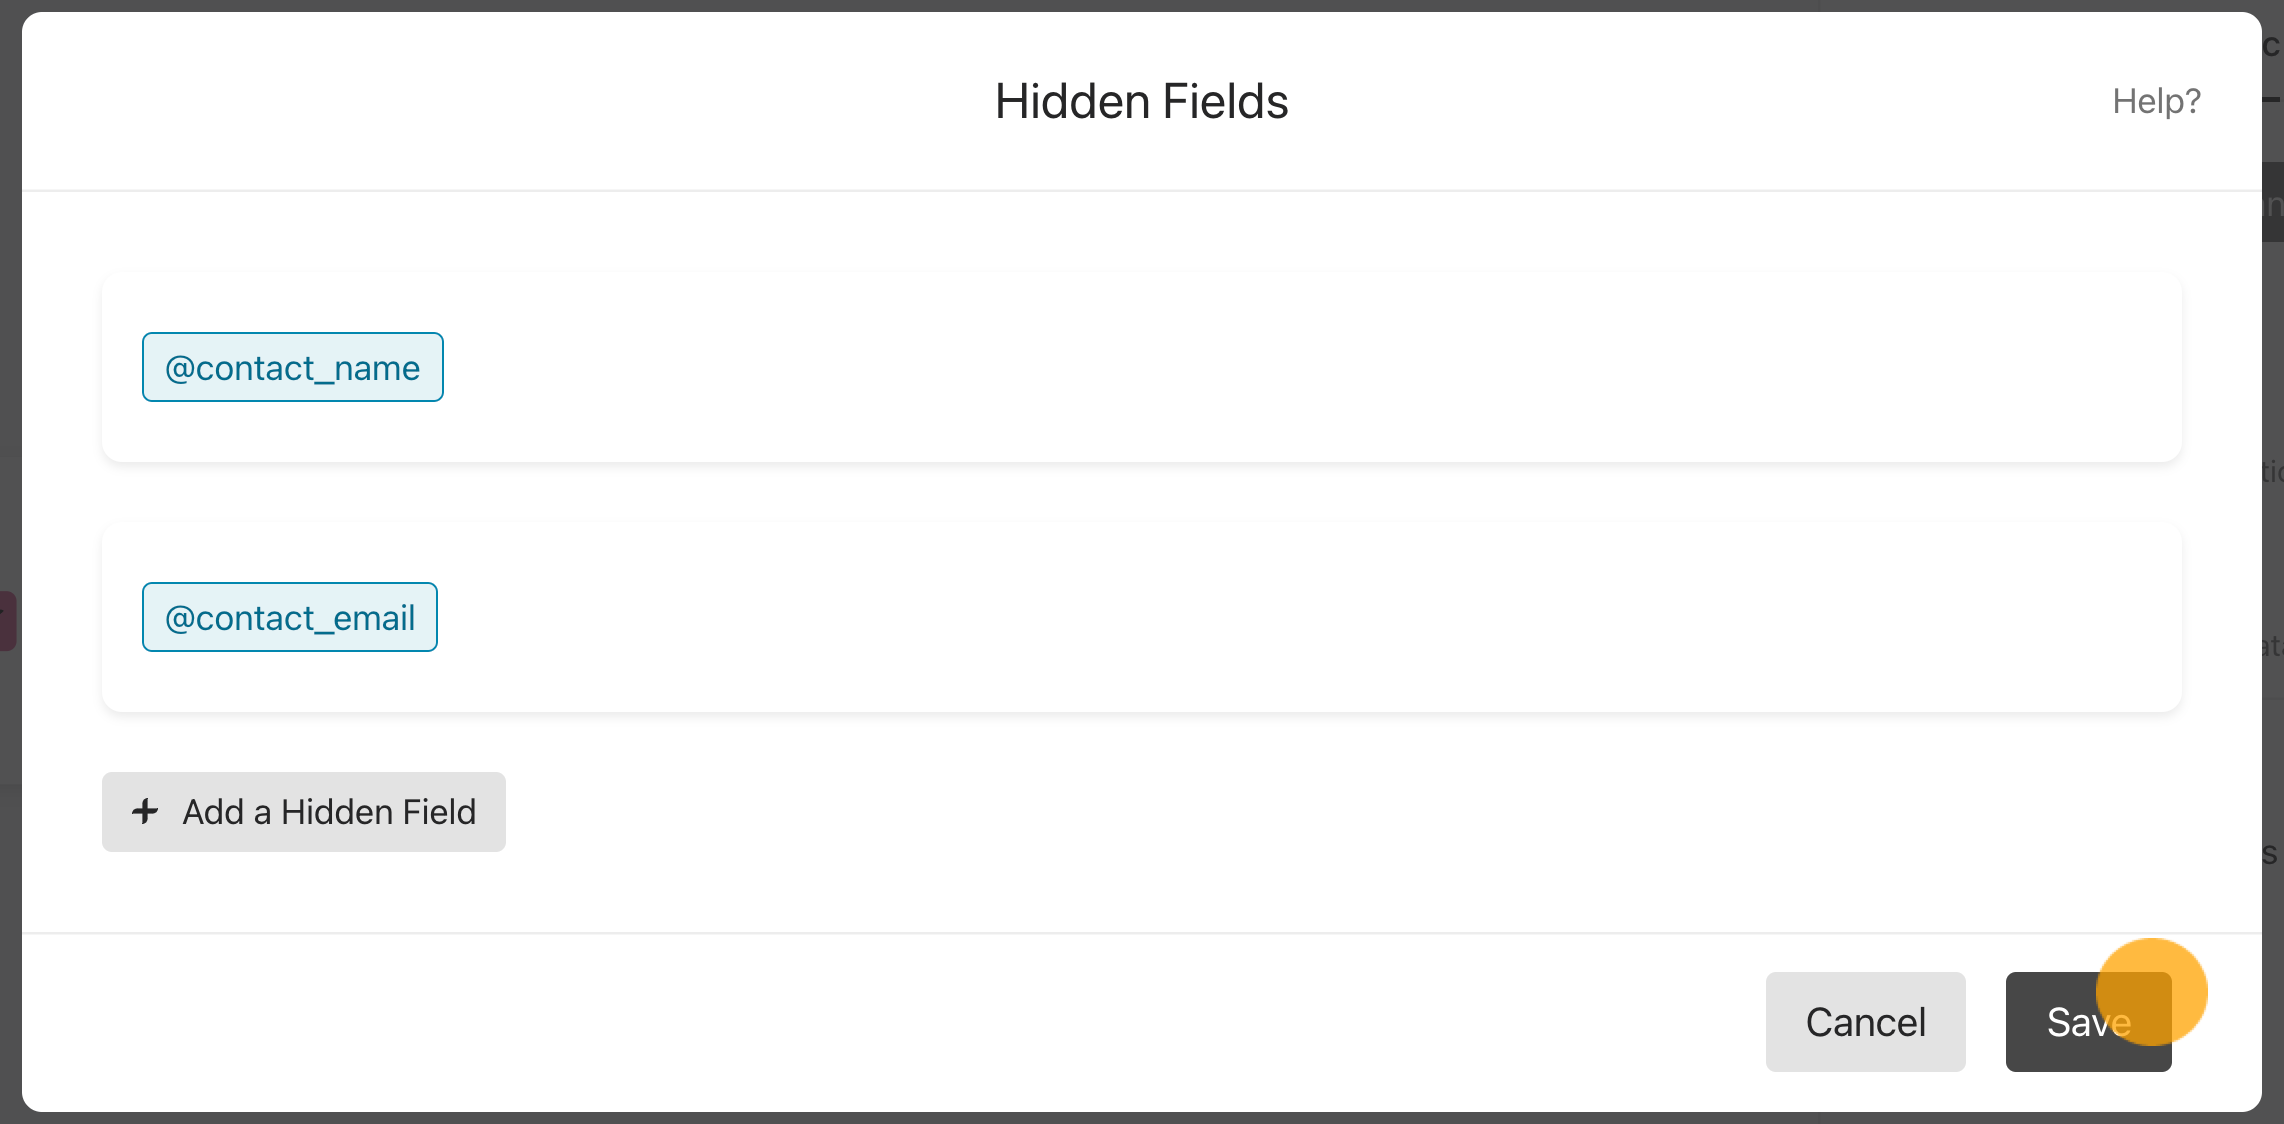
When you're happy with your typeform, click Publish in the top right of the Create panel.
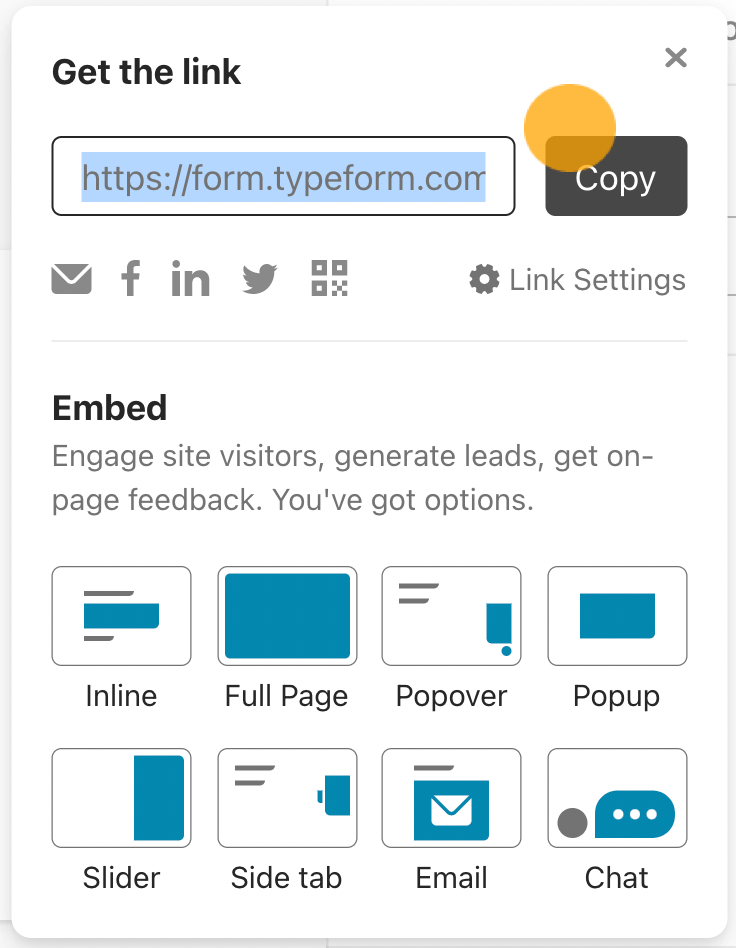
Next to the URL click Copy (we're going to need this link shortly 😊).
Part 3: Set up your videoask
As with your typeforms, you can create your videoask however you like. Just make sure to include these settings:
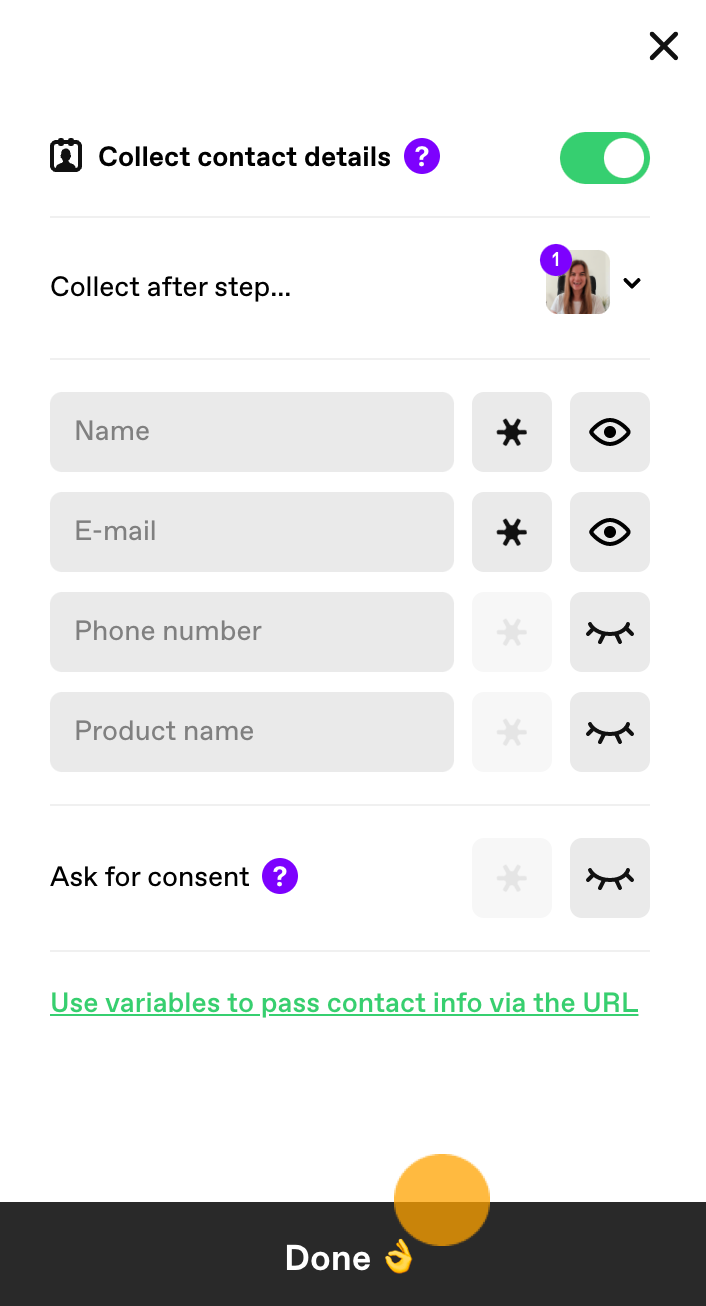
Make sure you are collecting contact details:
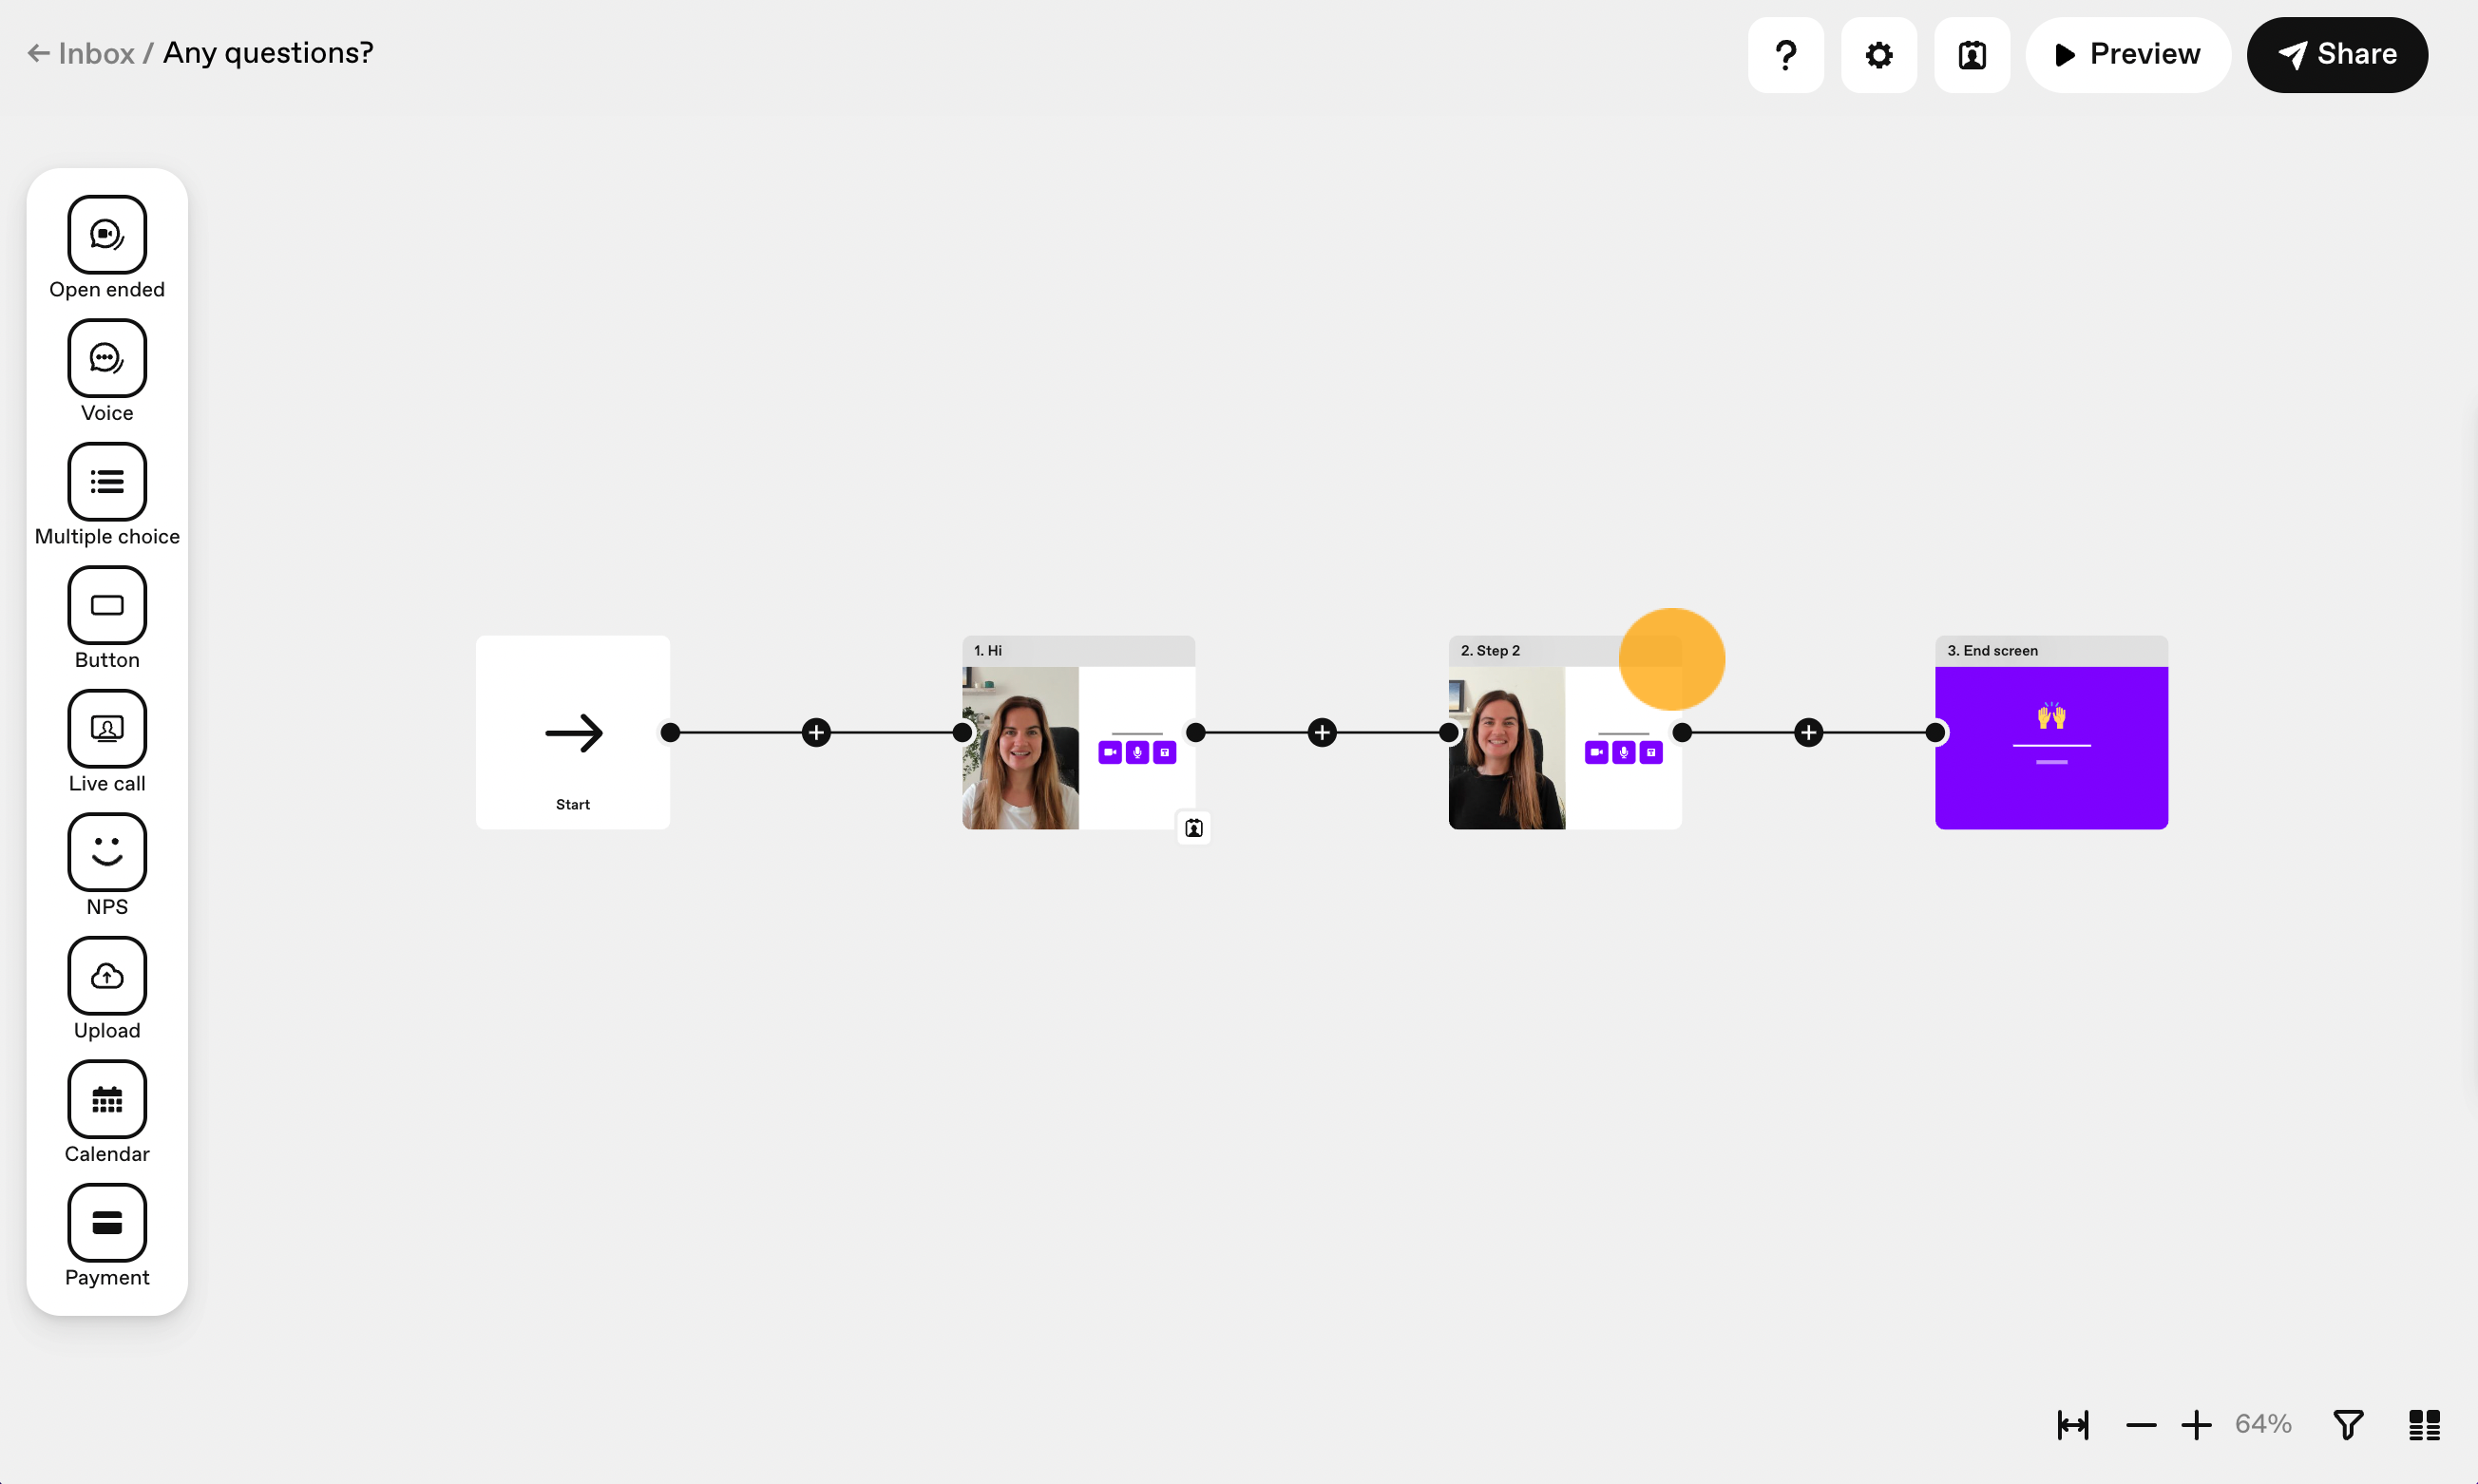
From your VideoAsk account, click Build to open your videoask builder.
Click the Contact Form icon.

Make sure the Collect contact details toggle is enabled and that you're collecting Name and Email.
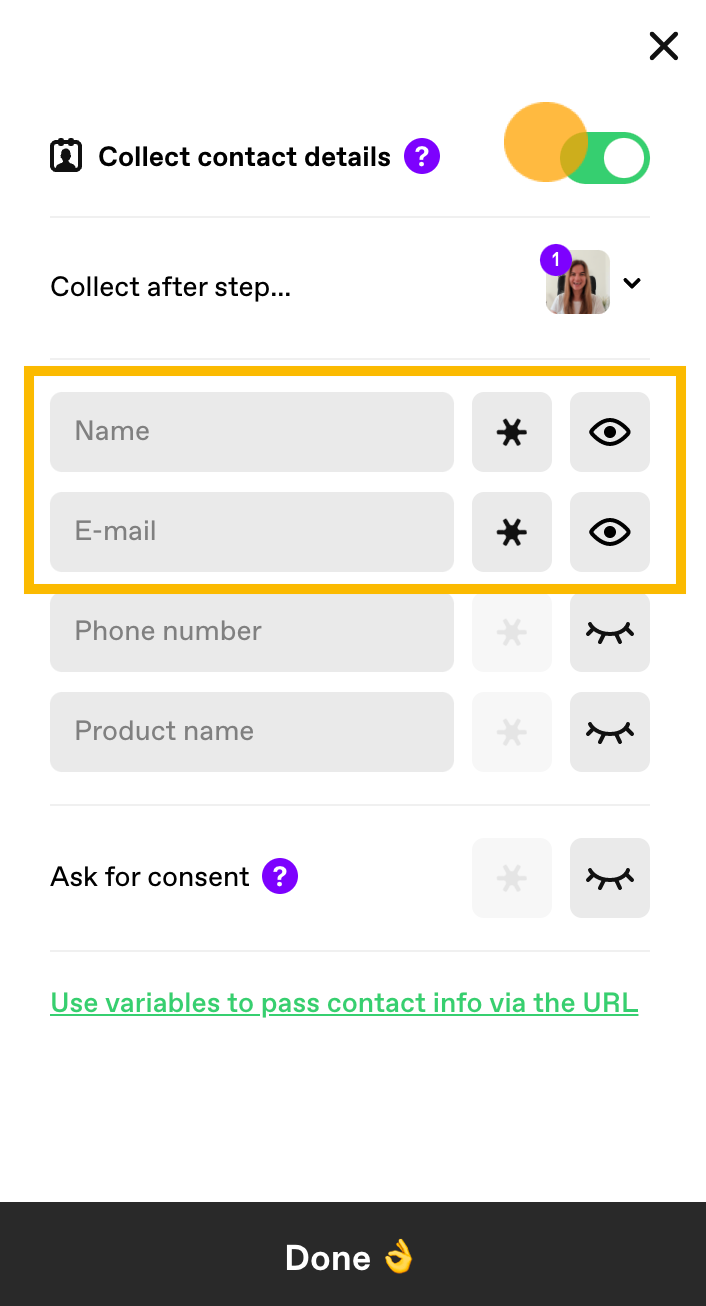
Click Done.
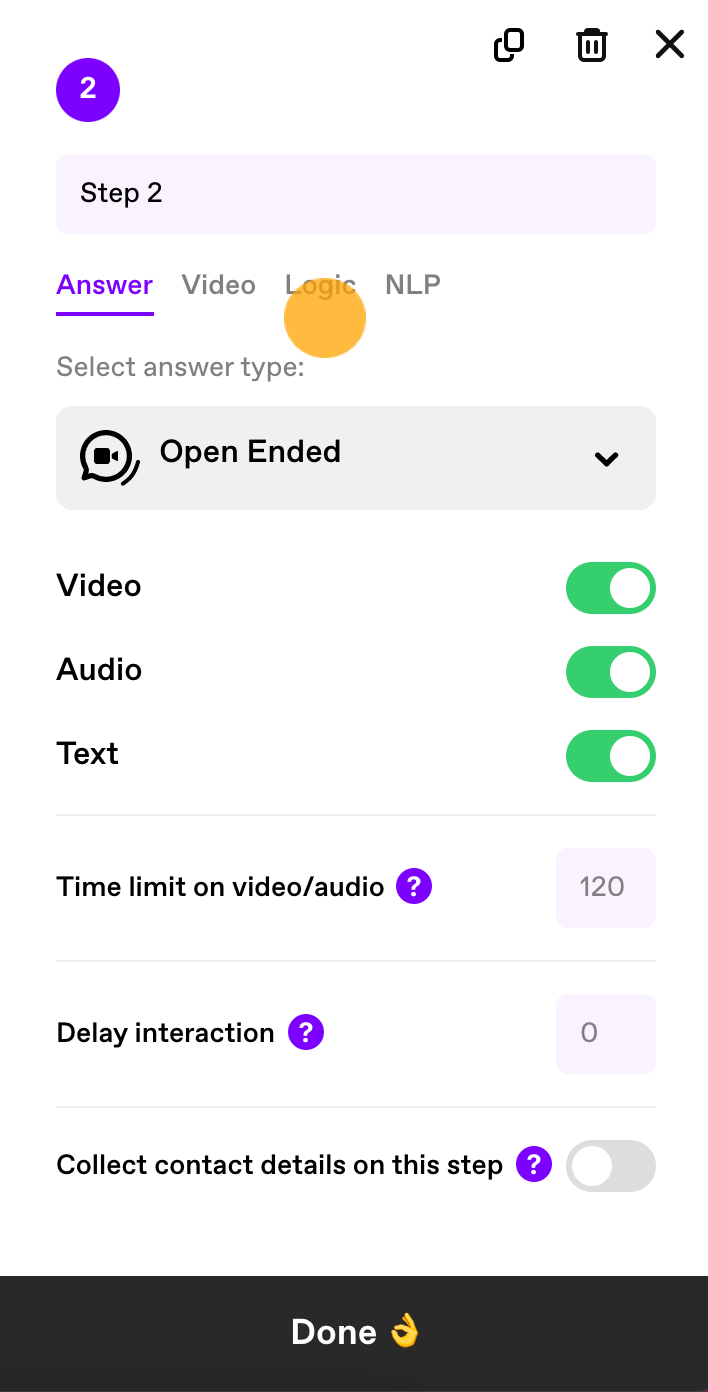
In the videoask builder, select the step from which you would like to redirect respondents to your typeform.
Click on the Logic tab in the right-hand side panel.
Click Always jump to...
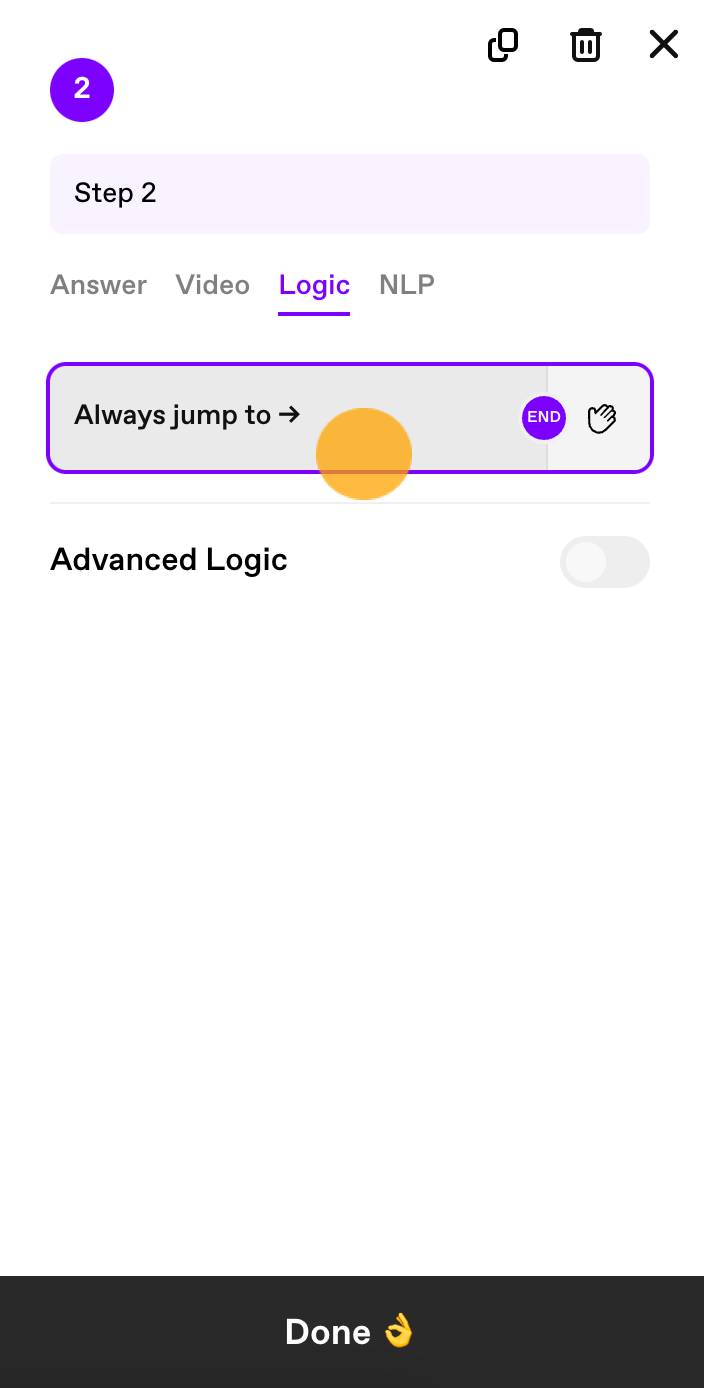
Then paste the URL you copied from typeform B (with hidden fields for Contact name and email) into the Redirect to URL box.
By default, the hidden fields in your URL will include an XXXX placeholder (ie #contact_name=XXXX). Now you'll need to replace those XXXXs with the VideoAsk variables.
In the appropriate part of the URL, delete the XXXX and type @ to pull up the list of variables. Select Contact name and Contact email in the relevant places to do so.
When finished, the end of your URL should read:
#contact_name=Contact name&contact_email=Contact email
Click Save.
Then click Done.

Part 4: Generate your videoask link
Select your videoask and click the Share & Embed icon.
Add variables contact_name and contact_email.
Note: If you're on a paid VideoAsk plan, you also have the option of adding custom variables.
Copy the videoask URL (with your variables now added to the end of it) and head back over to typeform A for the last steps...
Part 5: Add a redirect to typeform A
Typeform offers creators two ways to redirect respondents to another page after completing a typeform: redirect on completion and redirect through endings. If you're not sure which to use check out when to redirect on completion vs when to direct through endings.
We're going to use redirect on completion to send our respondents from typeform A to our videoask.
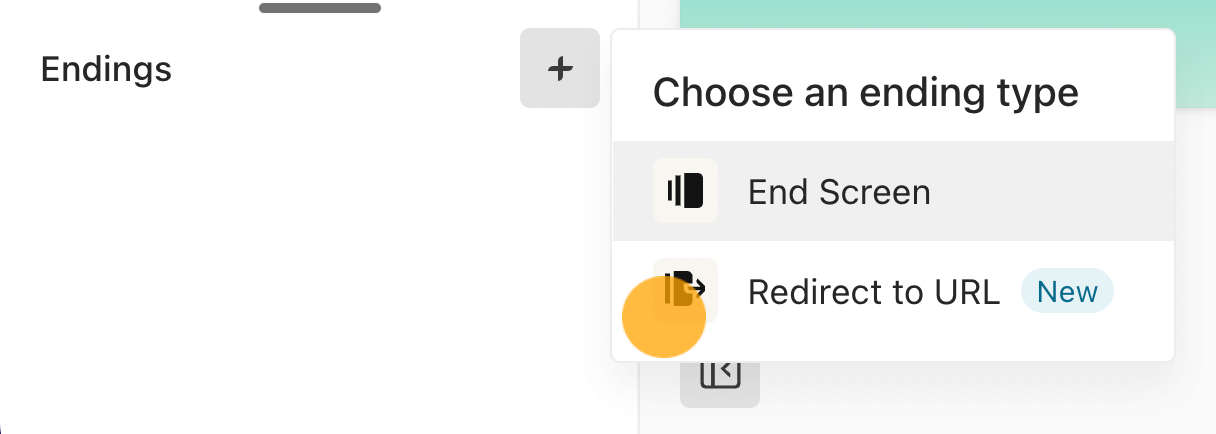
Open the typeform from your Typeform Workspace and click the + sign next to Endings in the Create panel. Choose Redirect to URL.
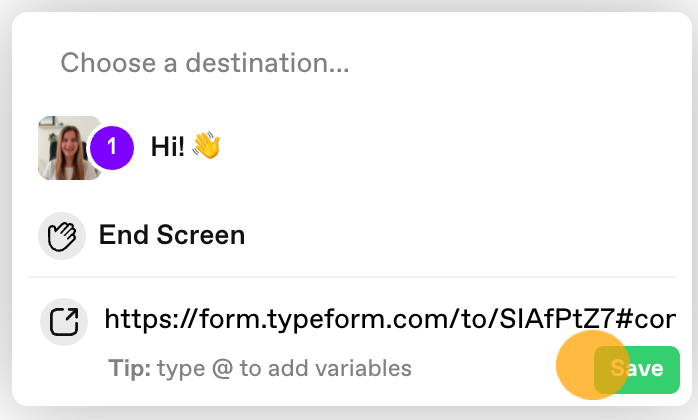
Your redirect will appear in the list of Endings:

Paste the videoask URL you copied (in part 4) into the center of the screen. Respondents will not see the screen with the videoask URL when they submit the typeform. Instead, they'll be redirected to videoask.
Under URL Label, you can add a label to your redirect as a note or summary of the URL you have added. The label will appear in the list of Endings for easy visibility, but it won't be visible to respondents, who will instead be redirected to the URL you add.
Now we'll use Recall information to replace the placeholder strings after each contact field with a typeform question: remove the XXXX and add an @ sign. You'll see a menu appear with all the possible questions you can take answers from:
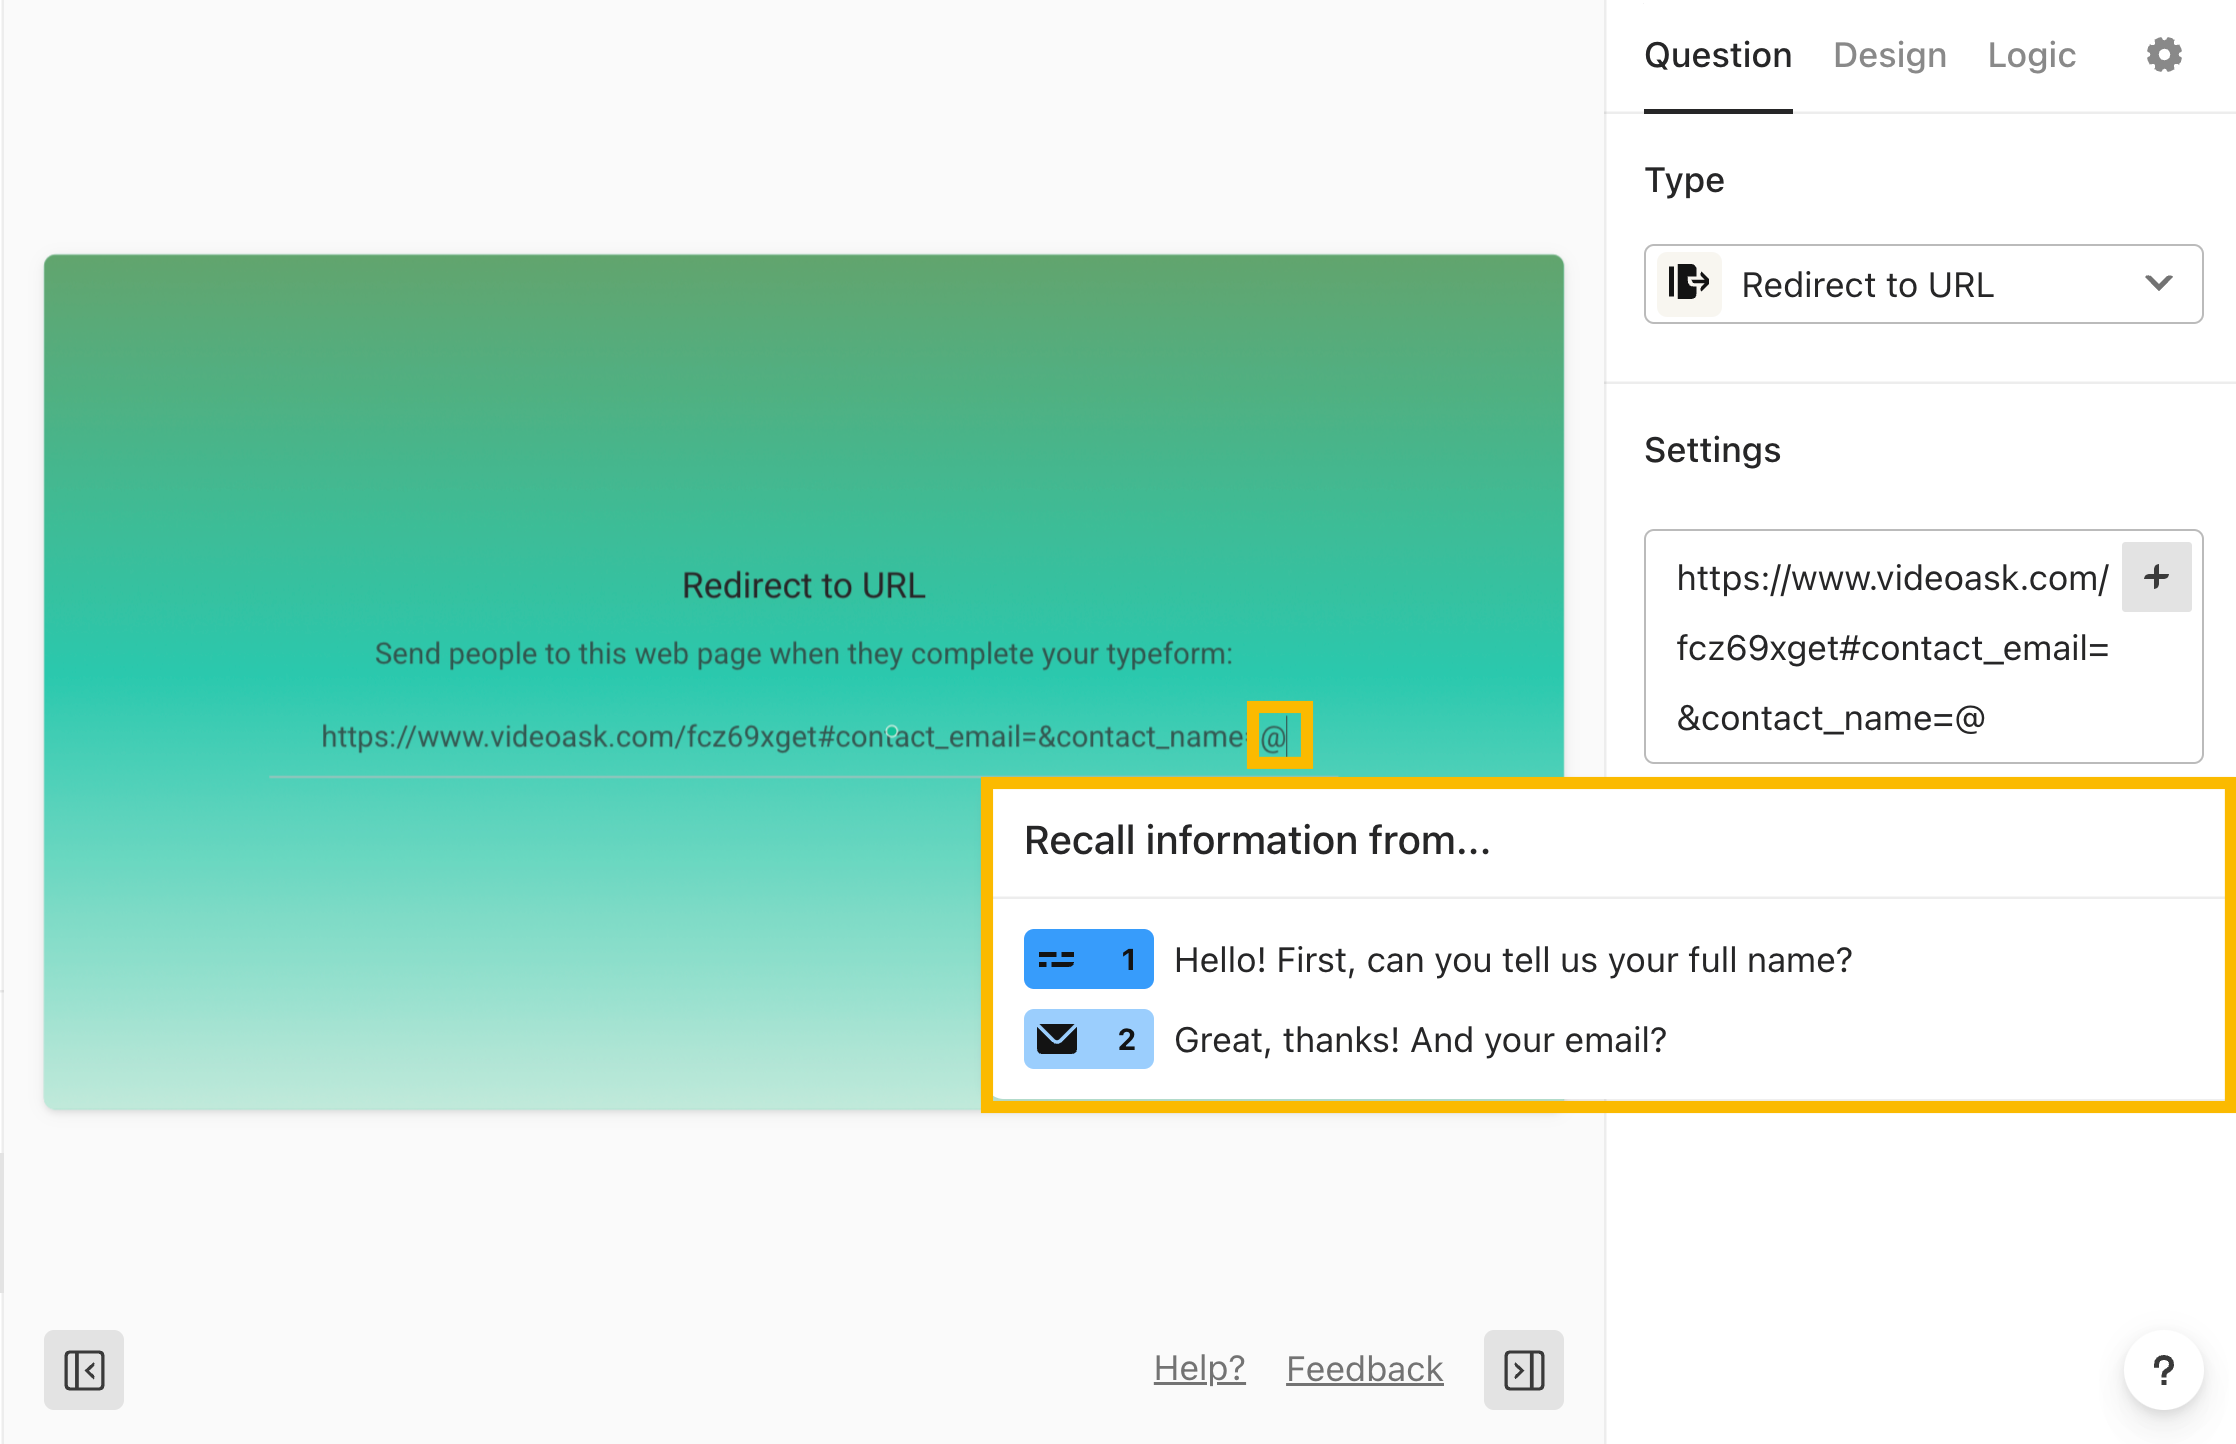
In the example below, we've replaced the XXXX after name= with the question asking for the respondent's full name:

Repeat the process for any other variables, then Publish your typeform by clicking Publish in the top right of the Create panel.
And that's a wrap! Now the contact details your respondents entered in typeform A will be automatically passed through to your videoask and then back to typeform B, meaning that your respondents only need to enter their contact details once!
💡 Tip: We recommend testing out this sequence to make sure everything is working as expected before sharing it with your respondents.
⚠️ Important: VideoAsk and Typeform are separate platforms that have not yet been fully integrated (but we're working on it!). This means you won't see the answers to your typeform in your videoask's inbox, and your videoask responses won't appear in your typeform's Results Panel.
Keep in mind
- Responses to typeform A’s questions will appear in typeform A’s response panel
- Responses to typeform B’s questions will appear in typeform B’s response panel
- Video answers for the videoask will appear in your VideoAsk inbox